How to Paint a Room Professionally
Most of us can paint a room reasonably well. A seasoned professional, on the other hand, does an excellent job. Professional house painters san diego, of course, have more experience than the ordinary homeowner, but they also know tactics and strategies that help them paint better.
We asked six professional painters to reveal their trade secrets. They demonstrated how professionals paint rooms so you can work more efficiently and achieve greater outcomes. Some of the information you’ll find here may surprise you. Their secrets, for example, will not reduce painting time.
What Is the Average Time It Takes to Paint a Room?
An average-sized room takes painters two to four days to paint. That’s how long it takes to properly prep, prime, and paint. It takes a little more effort, but once you see the results, you’ll agree that it was time well spent.
What to Do Before You Begin: Tips from Professional Painters
Sanding using liquid sandpaper should be done after hand sanding.
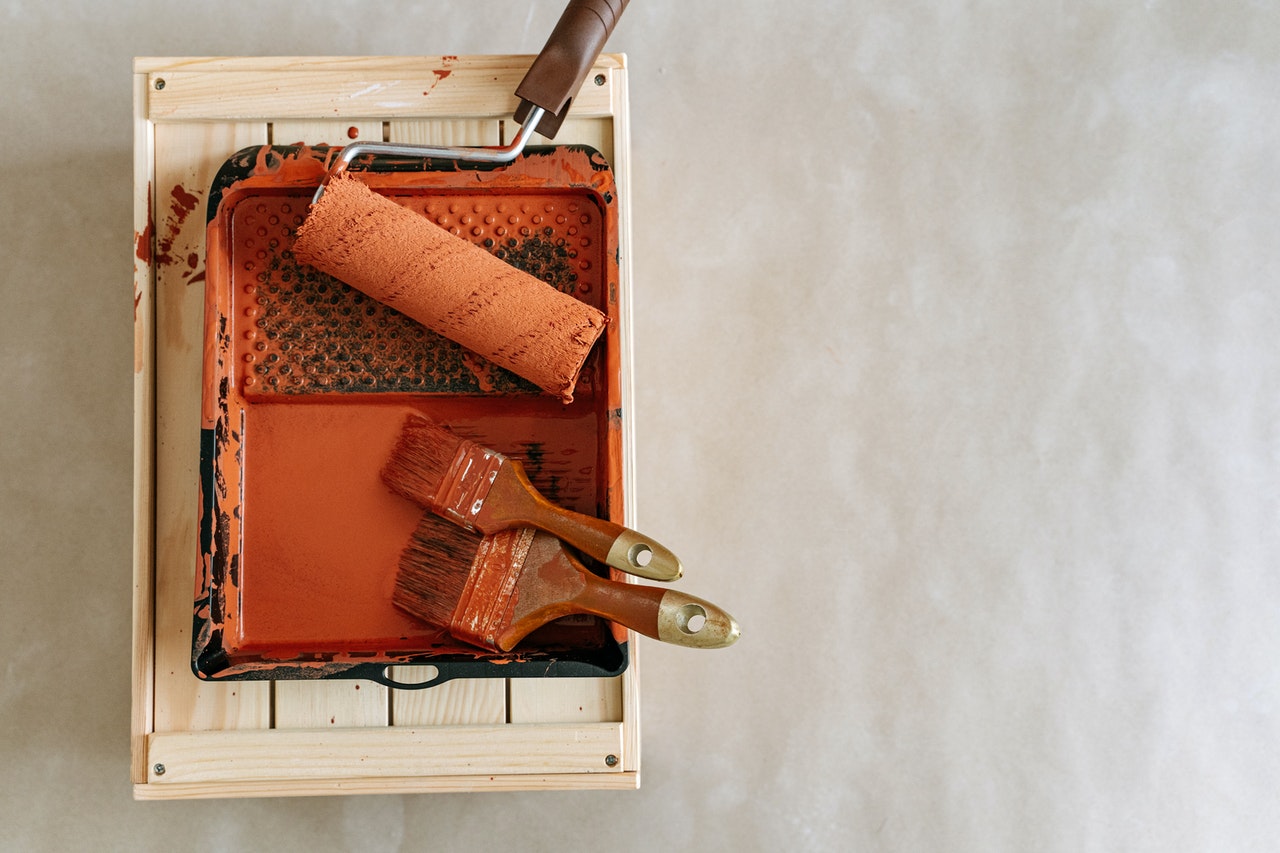
1. Take everything out of the room.
To begin, remove all of the items from the room. Every artist we spoke with had a horror storey about a time when he broke Rule No. 1. Larger pieces of furniture might occasionally be left unprotected in the centre of larger rooms, but if you’re fixing drywall, Chris Span of Span’s Quality Painting in Mobile, Alabama, says it’s best to keep them covered “Remove everything from the room. Drywall dust gets all over the place.”
Remove all doors, light fixtures, and hardware, and use masking tape to label everything. Invest in drop cloths as well. Purchase high-quality drop cloths, such as canvas or plastic with a paper backing. Paint soaks right through lightweight materials and bedsheets, so keep that in mind. Plastic sheeting is effective, although it is slick and does not absorb spills.
What is the Best Way to Prepare a Room for Painting?
2. Locate and Repair Cracks and Dents
Even a bare bulb from an old lamp positioned near to a wall would highlight slight cracks, bumps, or nail pops. For minor cracks and dents, use painter’s putty or a lightweight spackle; for dents deeper than 1/8 inch, he uses plaster of Paris.
Maceyunas utilises Good-Bye Crack, a rubberized spray-on primer, instead of the traditional tape-and-spackle method for bridging over reoccurring stress cracks. A slightly different strategy is required for damaged wood. “Don’t use spackle on wood because it won’t stick,” Toto advises.
Painter’s putty or a two-part wood filler, are used to repair damaged trim. With a drywall pole sander, smooth off any repairs, lumps, and nibs. Some of our pros sand all previously painted walls, regardless of their shape, for smoother surfaces and better adhesion.
3. Complete the two-step sanding procedure.
Sanding not only removes cracked paint but also gives the following coat of paint “tooth.” Instead of sandpaper, use a sanding sponge for shiny trim. Sponges are more durable than paper because they mould to the contour of the trim.
Brian Doherty, a painter in Richmond, follows the hand-sanding with liquid sandpaper to ensure the surface is totally deglossed to avoid incompatibility difficulties when applying latex over alkyd paint or when he is unsure of the original finish. “I’ve seen houses where latex was used on oil-painted trim, and the paint began to flake in less than a year,” Doherty adds.
4. Walls made of sponges
Don’t paint over dust unless you want textured walls. Trisodium phosphate (TSP) or a mild cleanser, should be used to clean the walls. Toto uses a 50/50 combination of bleach and water to clean smoke-stained walls.
Use two buckets to clean a wall. Scrub with a rag or sponge loaded with cleaning solution from your bucket. Rinse the sponge in a second bucket of clean water before redipping.
5. Fill in all cracks with caulk.
Filling gaps with a paintable acrylic-latex caulk reduces draughts and improves the appearance of your trim. When it comes to caulk, the key is to cut the tip smaller than you believe it should be; too much caulk will result in a mess. Also, instead of breaking the inner seal with a nail, use a thin wire to avoid stretching out the nozzle. Consider investing in a dripless caulk gun, which will automatically ease down the pressure after each trigger stroke to prevent leaking.
6. Tape—Perhaps
Cutting in means painting only the surface you want, not the nearby surfaces — such as where a wall meets the ceiling. or where a wall meets the ceiling, for example.
On this point, the experts were split. Painter’s (blue) tape, according to the experts we spoke with, is easier to remove than masking tape. Span beds the tape with a putty knife to prevent bleeding. To avoid ripping the paint, he scores the edge of the tape line with a utility knife once it has dried.